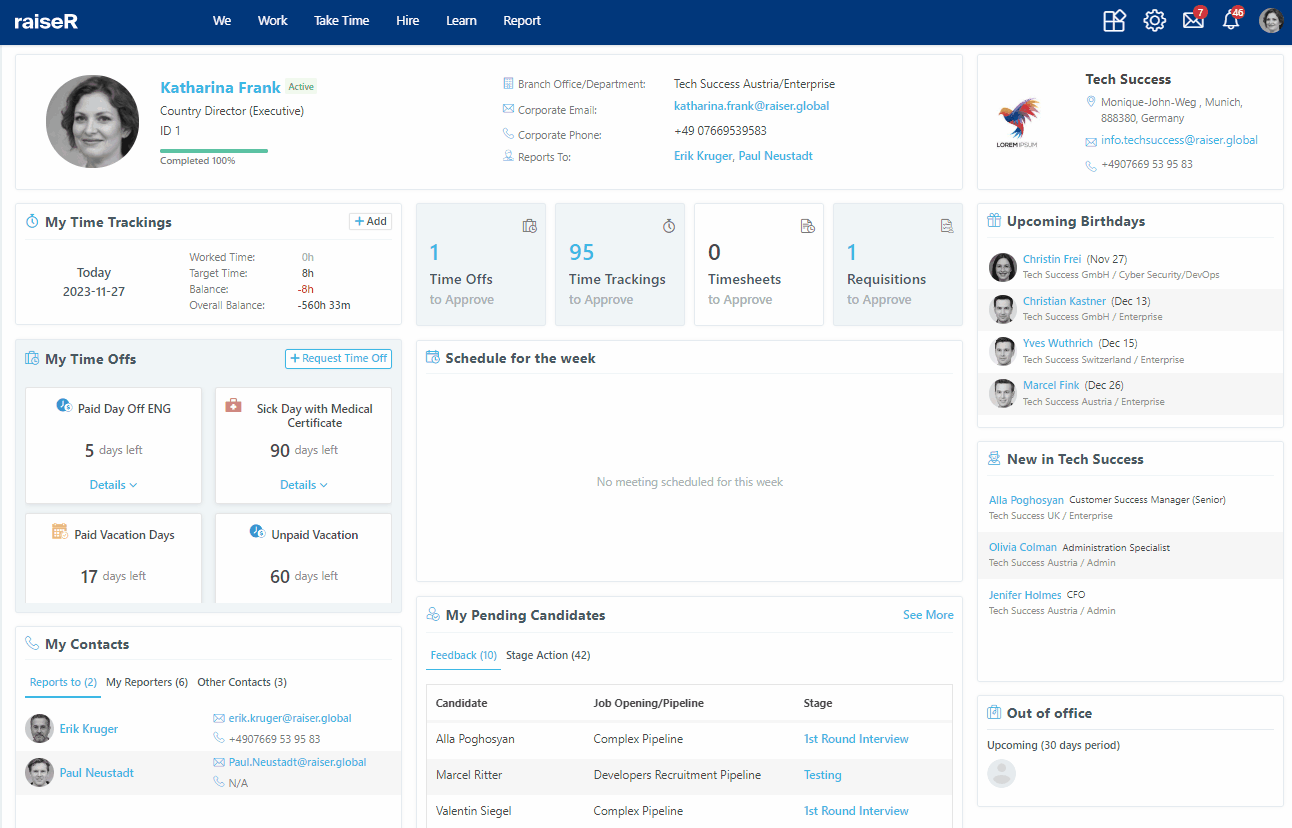
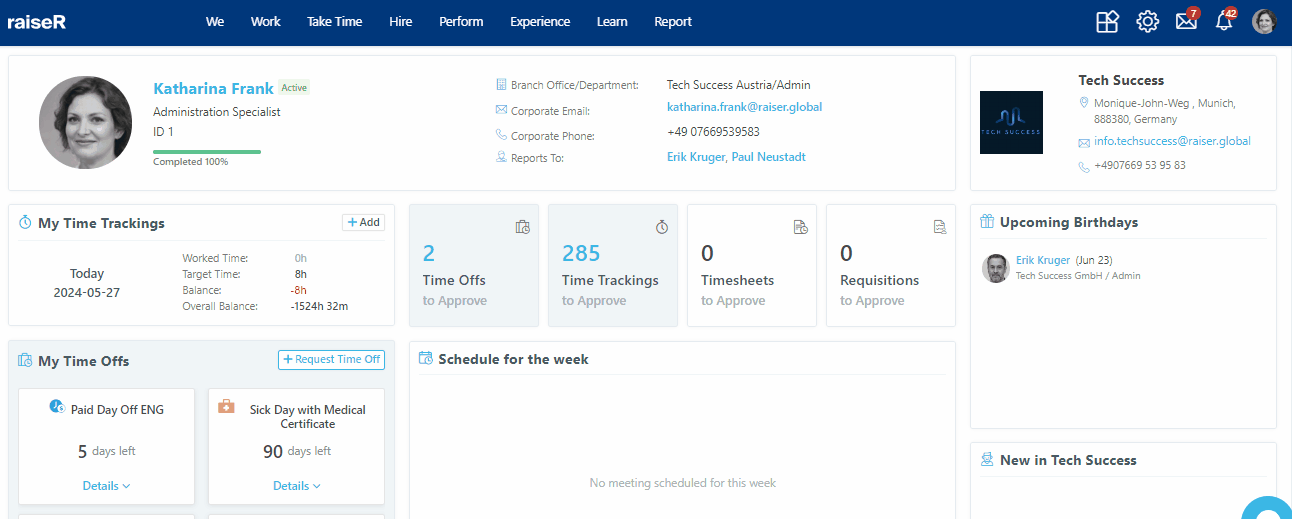
Introduction to People Management
As an alternative to tons of spreadsheets and folders, raiseR provides essential HR features to centralize and maintain accurate people data. HRs can effortlessly organize and update employee profile records from a unified source. This includes a vital component of the raiseR system, the We module, facilitating the viewing and management of all company employees. In raiseR, the interface and functionalities within the We module vary based on user roles. Administrators are granted enhanced privileges compared to other users, allowing them broader access and control over various features. Typically, user access rights can vary depending on the permissions settings established by the HR Managers within the organization.
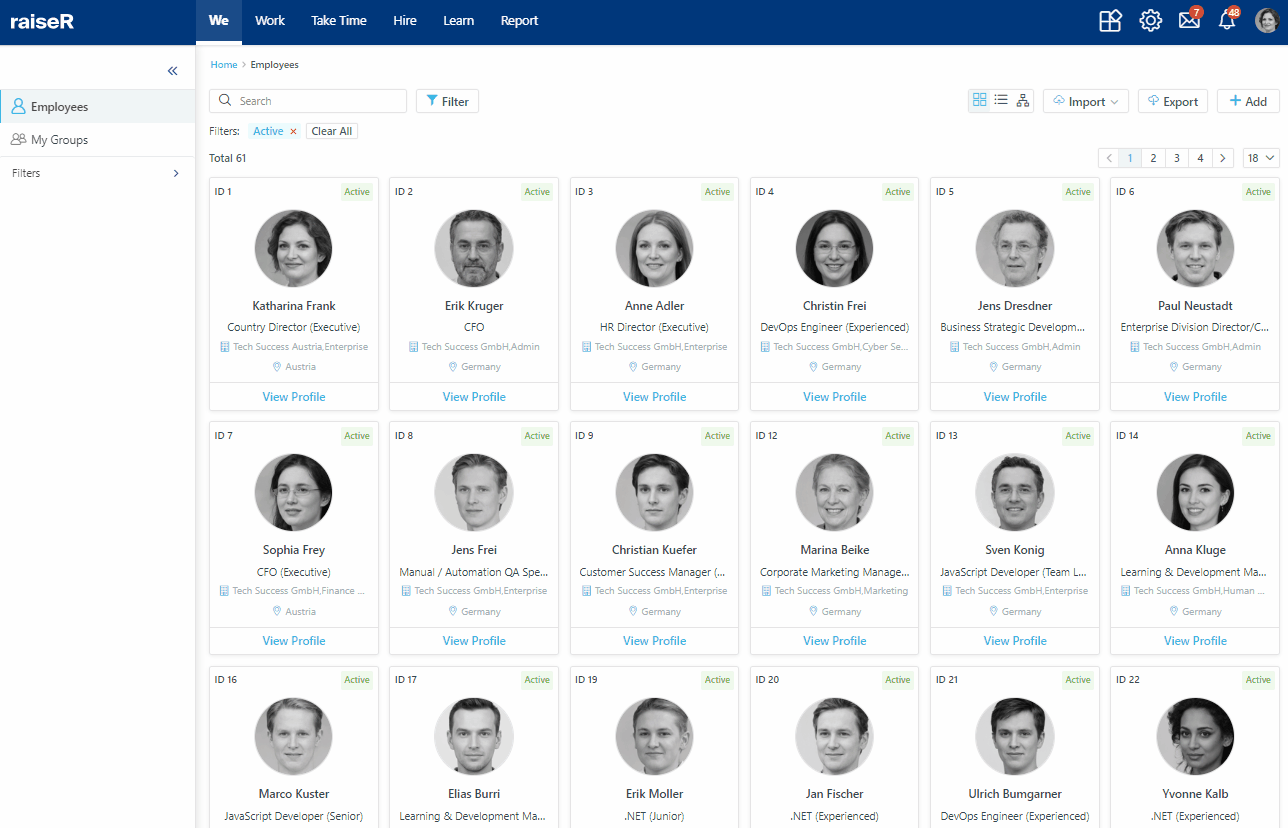
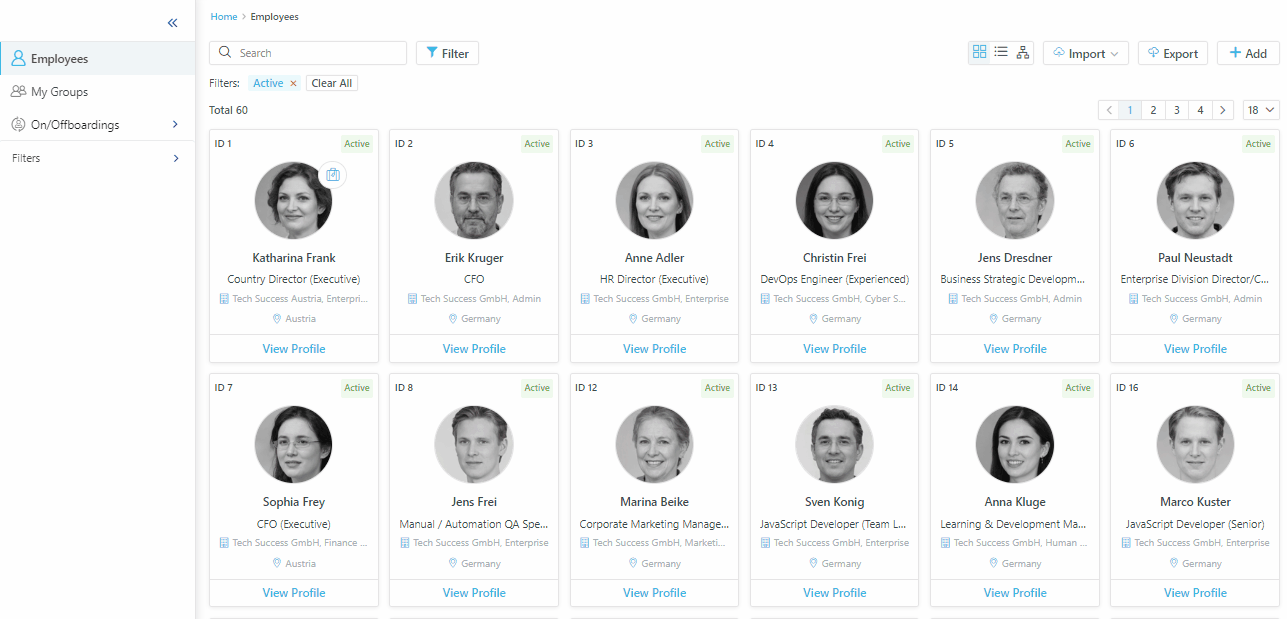
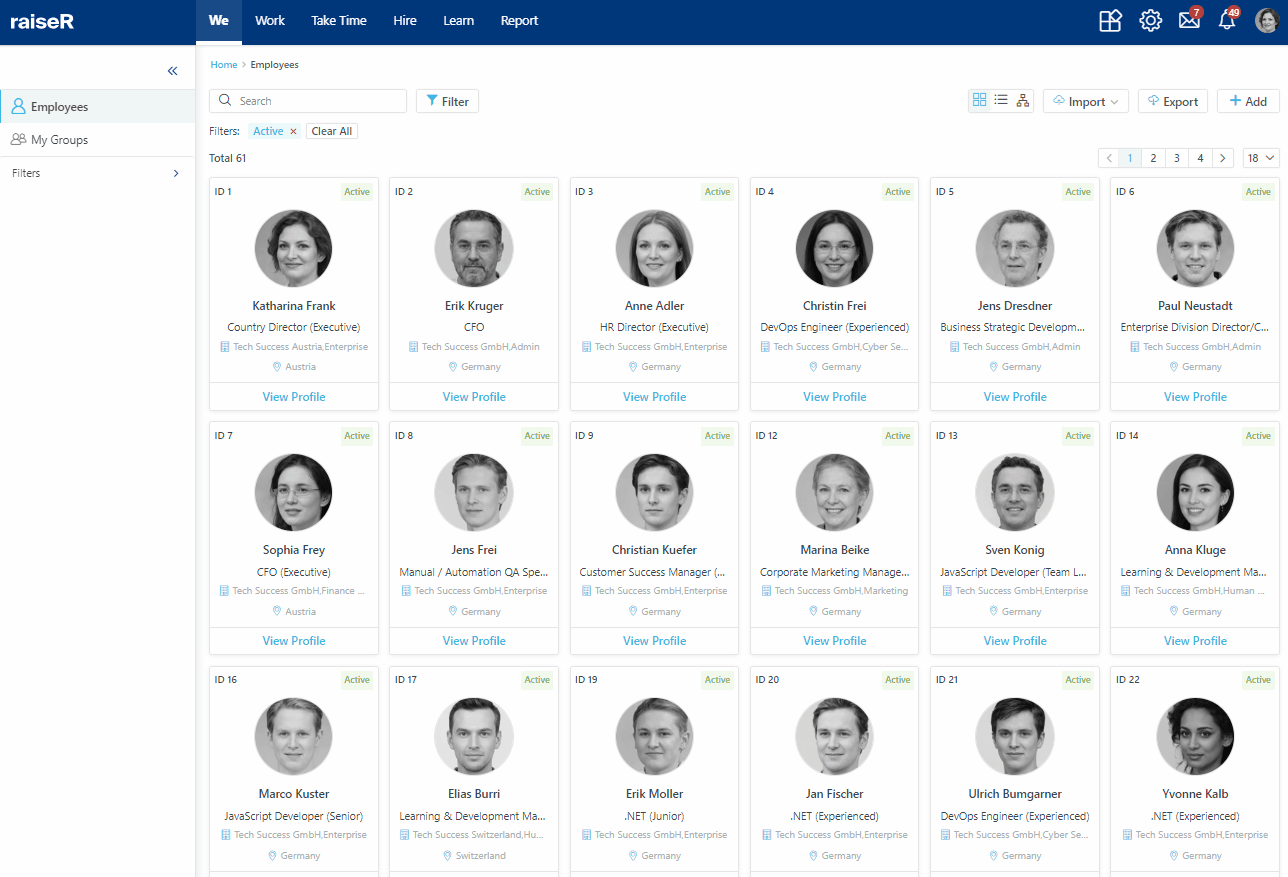
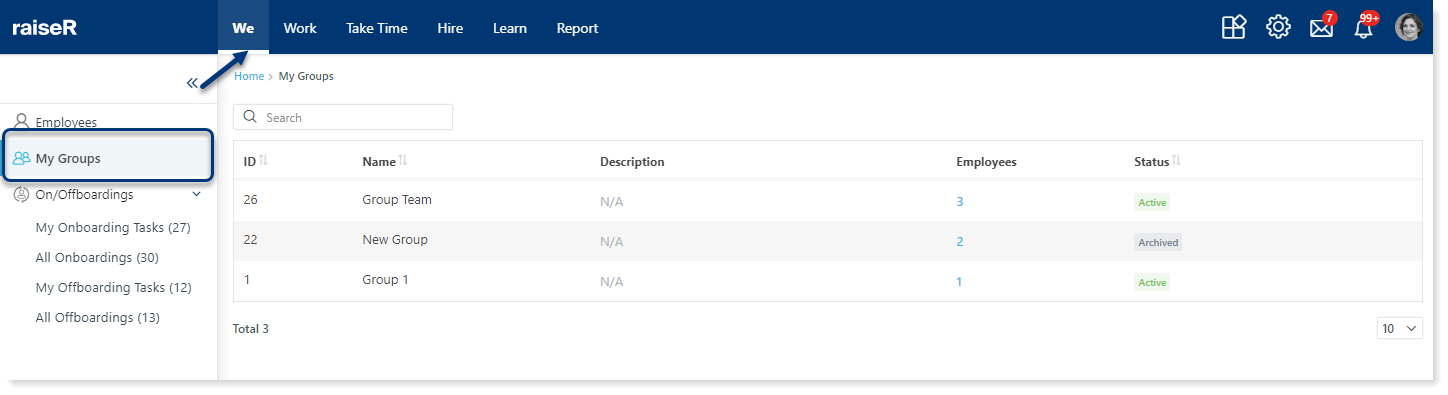
We module features three main sections: Employees, My Groups, and On/Offboardings. The Employees section is displayed by default.
Employees
With this section, you can easily:
- View, manage, and organize information about all employees within the company.
- Add new employees manually or through data imports.
- Import employees' time-off balances for accurate tracking.
- Export employee lists for further analysis or record-keeping.
- Choose between a list view or a card view for employee data representation.
- Visualize the organizational hierarchy using the organization chain feature.
- Invite employees to raiseR either in bulk or individually.
- Organize and manage employee data with flexible filters.
Let's break down each feature step by step:
Upon entering the We module, only employees with an active status are visible in the Card view. Each card showcases the employee's photo, ID, name, country of origin, position, professional skills, department, and respective branch office. Clicking the View Profile link directs you to the individual's comprehensive profile page, offering personal and detailed information.
Tip: The active status is designated to those employees who have the current position in the organization. For more details about employee statuses see below.
You can switch between the list view, card view, or tree view by clicking the corresponding icon.
The list includes attributes that are also represented in the cards:
- Employee data is retrieved from employee records upon creation.
- Employee ID numbers are system-generated and unique.
- Clicking the employee's name directs you to the individual's comprehensive profile page.
To view the organizational hierarchy, simply click on the Tree icon. The tree view visually represents the hierarchical relationships between employees. This view clearly illustrates the reporting lines of employees and the number of individuals reporting to each manager. For example, Katharina Frank has six subordinates within the organization, and each of them may have their own as well.
To construct an individual employee's reporting structure, simply select the desired employee from the list. If you wish to visualize the entire organizational hierarchy, activate the Show the Entire Chain toggle.
Adding Employees Manually
To add an employee manually you will need to:
- Go to the WE module
- Click + Add button.
- Enter your employee's Personal information.
- Specify the data in the Position Details field.
- Once finished, click the Save button.
By the way, the employee ID is generated automatically when the employee is added to the raiseR.
Tip: Those fields that have (Optional) indication can be skipped.
Importing Employees
To Import employees:
- Click the Import button.
- Select Import Employee Data.
- Click the Download Template hyperlink.
- Download the preformatted employee list template to simplify the data entry process.
- Fill in the required columns in the template.
- Then come back to your raiseR page and click the Choose File button to upload the completed template.
- Once the file is attached, click the Upload button and you will be done.

Tip: When filling in the information make sure that you fill in the columns that are marked with asterisk and filled in with orangish color.
Importing Time Off Balances
- Click the Import button.
- Select Import Time Off Balances.
- Select the Download Template hyperlink.
- Download the preformatted employee list template to simplify the data entry process.
- Fill in the current balances of the available employees for each type of time off.
- Then come back to your raiseR page and click the Choose File button to upload the completed template.
- Once the file is attached, click the Upload button and you will be done.
Note: You can import the Employees' list and Time Off balances only in .xls format.
Finally, you can also export the data to a spreadsheet by clicking the Export button.
Inviting Users to Raiser
raiseR offers employees the Self-Service feature. Users with specific access rights can invite new employees to join raiseR as users. You can add employees individually or in bulk by selecting the checkboxes next to each employee or choosing Select All and clicking Invite to raiseR in the Actions menu. For further details about the Invite to raiseR feature and invitation statuses, refer to the Employee Profile article.
Note: You can select all employees only when switching to the list view.
Working with Filters
You can access the filter feature in two convenient locations: at the very top of the WE page and in the sidebar menu below the My Groups section. These filters are identical and offer the same filtering options for your convenience: Branch Office, Department, Skills, Position, Position Category, Professional level, Invitation status (for more information about Invitation Statuses, see Employee profile section), and Employee status. By default employees with active status are displayed. You can click the Clear All button to show employees with all statuses available. Besides, you can filter employees based on their employment status using the Filter button. The statuses are as follows:
- Active - Employees currently holding a position within the organization.
- No Position - Employees unassigned from their position and currently not assigned to any specific role within the organization.
- Resigned - Formerly employed but have voluntarily left the organization.
- Terminated - Employees whose employment with the organization has been officially ended.
- Upcoming - Assigned to employees with a scheduled future hire date.
Note: Please note that when working with filters in the sidebar menu, if the number of displayed attributes exceeds the list, you can expand the list by clicking the See More link, and narrow it down by clicking the See Less link accordingly.
My Groups
My Groups showcases all the public groups you're a member of.
Head over to the Introduction and Working with Employee Groups article for details on creating, managing, and customizing your groups.
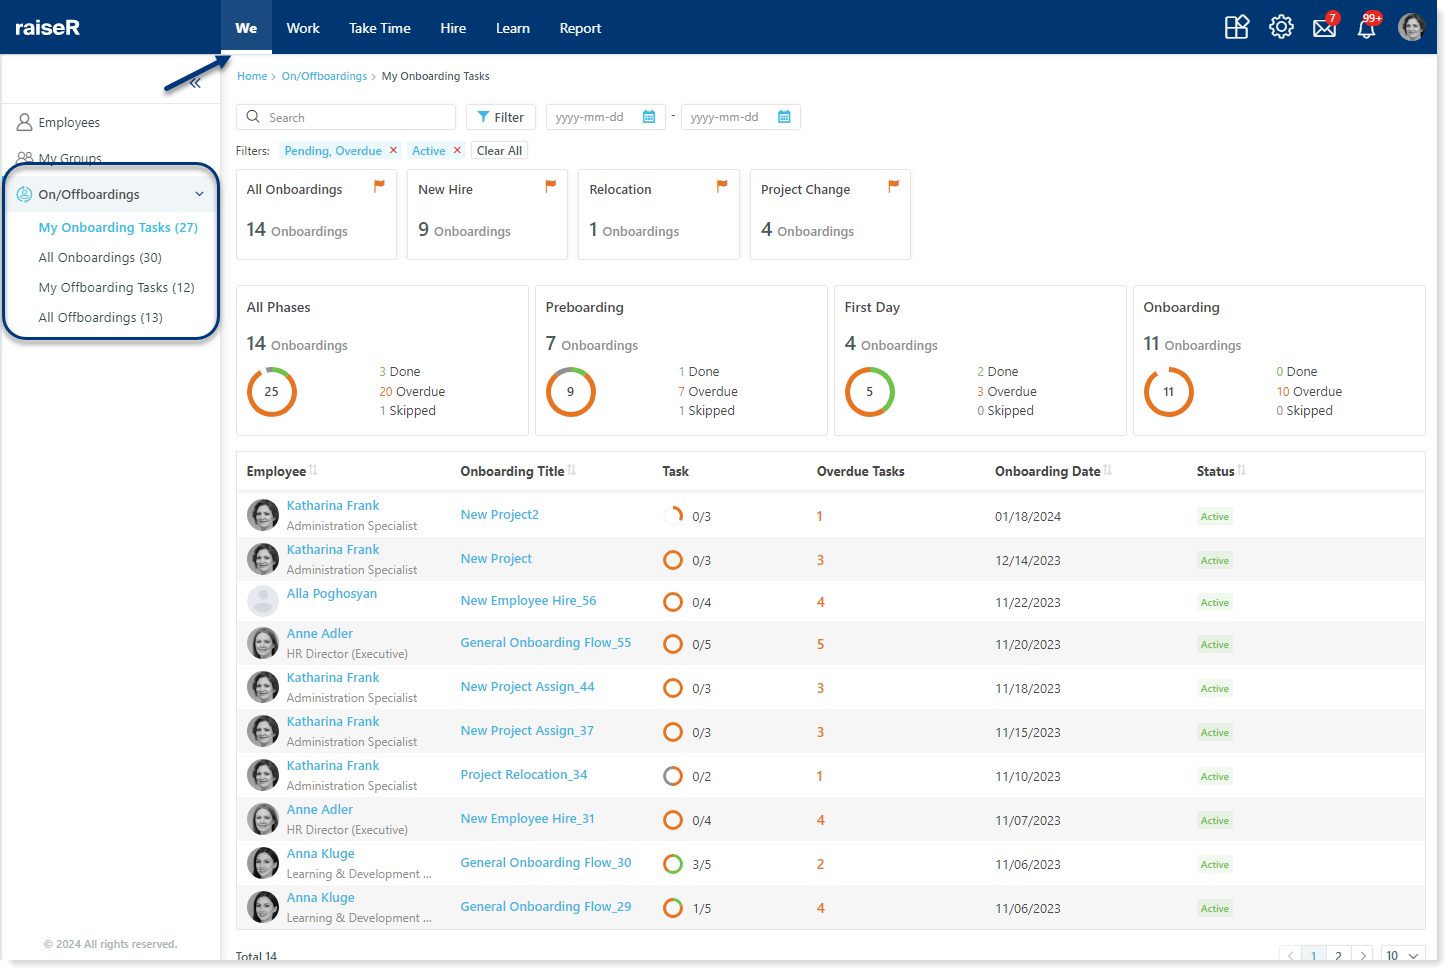
On/Offboardings
Stay on top of all your onboarding and offboarding activities with the dedicated On/Offboarding section. This section provides a clear and concise overview of all ongoing processes, categorized into four key sub-sections:
My Onboarding Tasks - View all onboarding tasks assigned specifically to you.
All Onboardings - Access a comprehensive list of all ongoing onboarding activities.
My Offboarding Tasks - See all offboarding tasks assigned to you.
All Offboardings - Get a clear picture of all ongoing offboarding activities.
Key Features of each section:
- Employee List: View all on/offboarding templates, employees currently onboarding or offboarding, including their respective status, task completion progress (completed and overdue), and onboarding/offboarding dates.
- Task Cards: Each card displays the on/offboarding task name and the number of templates involved.
- Flag Icon prompts you to complete pending tasks and stay on track.
- Phase Breakdown: See all phases of each process and corresponding tasks with their completion status.
Tip: Need a quick overview of on/offboarding tasks?
- Click the template title to explore tasks within a specific template.
- Click Overdue Tasks to focus on your Onboarding/Offboarding Tasks within the Employee Profile.
Note: To ensure the tasks' access, make sure you have the necessary permissions enabled. These can be found under Roles and Permissions within the Settings module.
You can also use the available filters to narrow down the list and focus on specific processes or task statuses.
Tip: For more information on adding and managing on/offboarding tasks, please refer to the following articles: Working with Onboarding Tasks, Working with Offboarding Tasks.
Congratulations! You've successfully navigated through the We section and gained insights into managing employee profiles, organization hierarchies, and more. Well done!