Working with Onboarding Tasks
The purpose of creating Onboarding tasks is to systematically guide and manage the process of integrating new employees into an organization, or if you are organizing a project change for one of your employees, for instance, of course s/he will need to be introduced to the new project, complete tasks or be guided.
In this article, you will learn how to effectively add and manage onboarding tasks using various methods.
To create a task, perform these quick steps:
- Make sure you are logged in to your raiseR account.
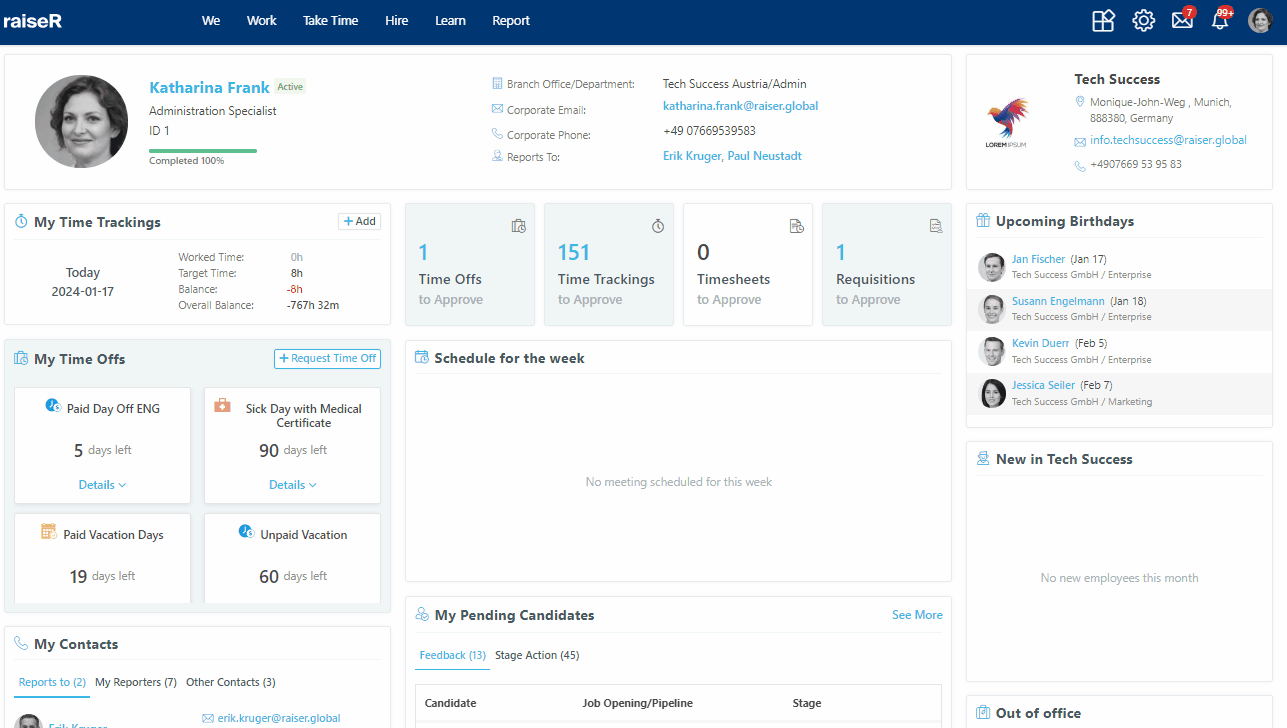
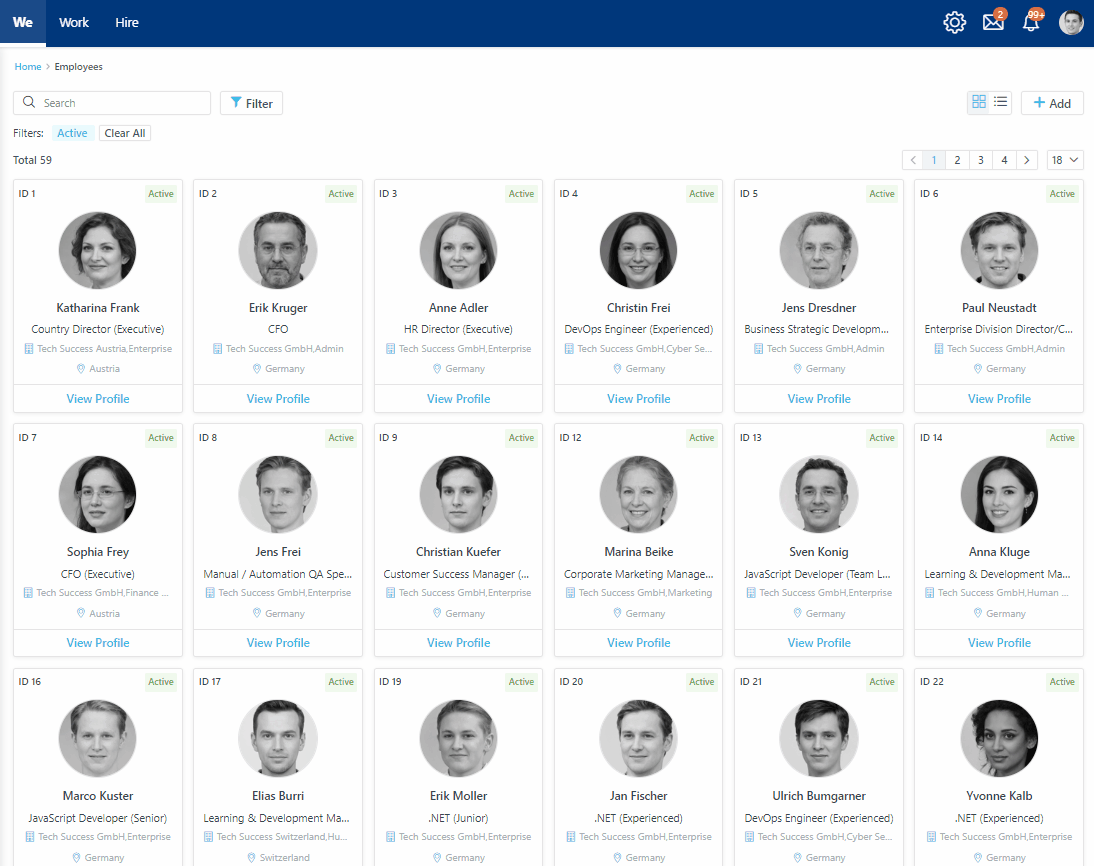
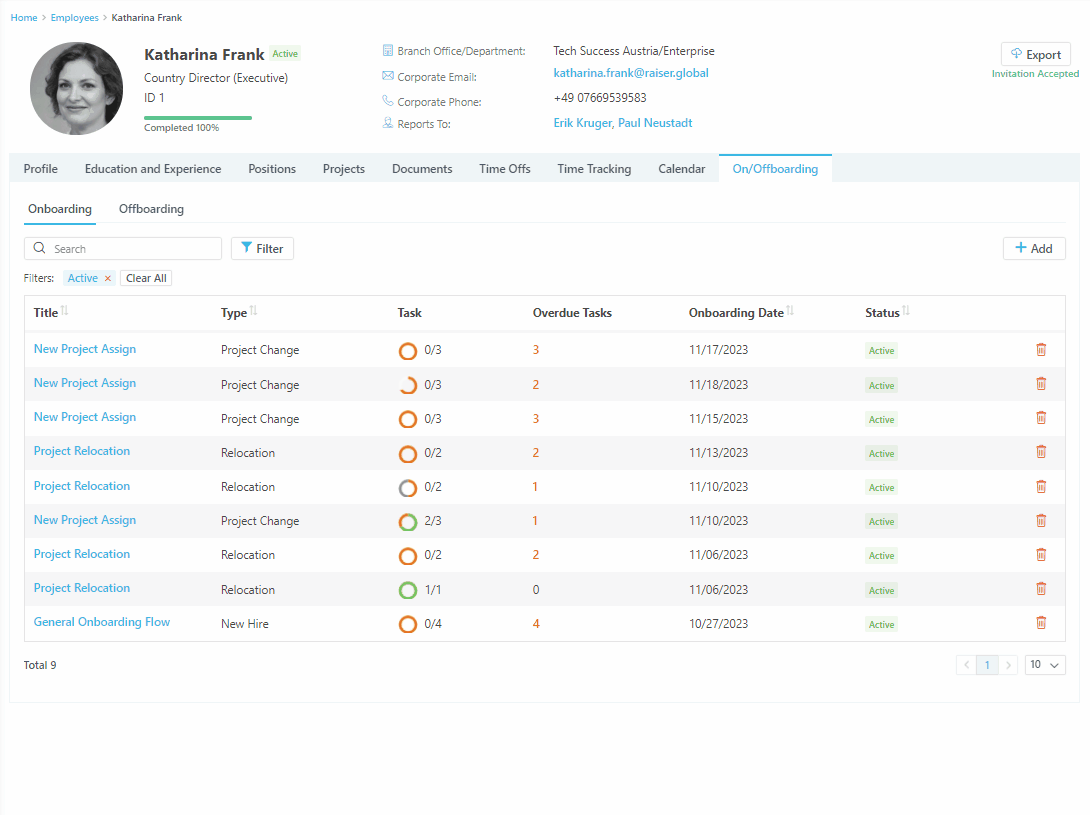
- Navigate to We → Employee Profile → On/Offboarding tab.
- Select the Onboarding tab and click the + Add button.
- Fill in the fields in the Onboarding Template window:
- Choose the appropriate template type from the list of previously created templates in Settings → Onboarding Templates.
- Select the template name that best suits the onboarding process you are creating:
- Once you select the template name, the task assignments will become visible in the Assignee window on the right.
- Select the individuals responsible for completing each task within the different task phases. You can also modify already selected options configured in Settings → Onboarding Tasks.
- Give this onboarding a name.
- Choose the person who will serve as the Onboarding Manager for this task.
- Specify the date on which the onboarding process will commence.
Note: By default, tasks with active and upcoming statuses are displayed in the list. To view all tasks, click the Clear All button. To view tasks with a specific status, click the filter button and select the desired status. For more information about task statuses, please refer to the dedicated section.
Upon assigning tasks, recipients will receive notifications prompting them to respond.
To respond to a task notification, follow these steps:
- Ensure you are logged in to your raiseR account.
- Navigate to the Bell notification section on the main menu ribbon and click it to open the notification panel.
- Choose one of the following options:
- Reassign: Transfer the task to another individual by selecting their name.
- Reject: Decline the task assignment and provide a reason for rejection.
- Accept: Agree to undertake the assigned task and proceed with its completion.
Once all tasks are completed, the assignee can mark them as done to finalize their work. These tasks can be General, encompassing various types such as Instruction, Checkbox, File to Upload, File to Download, and Email Tasks. To delve deeper into the specifics of these task types, refer to the Creating Onboarding Tasks article.
The following steps are required to mark a task as completed:
- Navigate to the employee's profile for whom you've completed the assigned tasks.
- Select the Onboarding tab and click on the task.
- Identify the task phase to which the completed tasks belong.
- Click on the specific tasks you've finished to mark them as complete.
- Select one of the following options to complete the action:
- Cancel: Discard any changes made and return to the previous state.
- Save: Save the completed tasks as a draft for further editing or submission later. The task status remains unchanged.
- Mark as Done: Confirm the completion of the selected tasks and change their status to Done.
Tasks can be intentionally omitted due to specific reasons, and the task status will be changed to Skipped.
Note: Only Onboarding Managers, with their designated permissions, can skip tasks. Task owners can edit assigned tasks, while Onboarding Managers can only view task details by clicking on the task name but cannot edit them.
Tip: Onboarding Managers have the authority to cancel or close the onboarding process. The Close Onboarding button is only enabled when all tasks are marked as Done, ensuring no outstanding or overdue tasks remain.
Congratulations! You've successfully mastered the art of creating and managing Onboarding tasks. Now let's apply your newfound knowledge of Onboarding task creation and management to Offboarding tasks as the process will now seem pretty simple to you.