Approving a Requisition
Since we have already learned how the requisitions are created let's see how to perform requisition management.
To get started with the process follow these steps:
- Make sure you are logged in to your raiseR Account;
- Navigate to the Hire module;
- Expand the Requisitions menu and you will see the below-mentioned sections, depending on your permission levels.
Requisitions to Approve
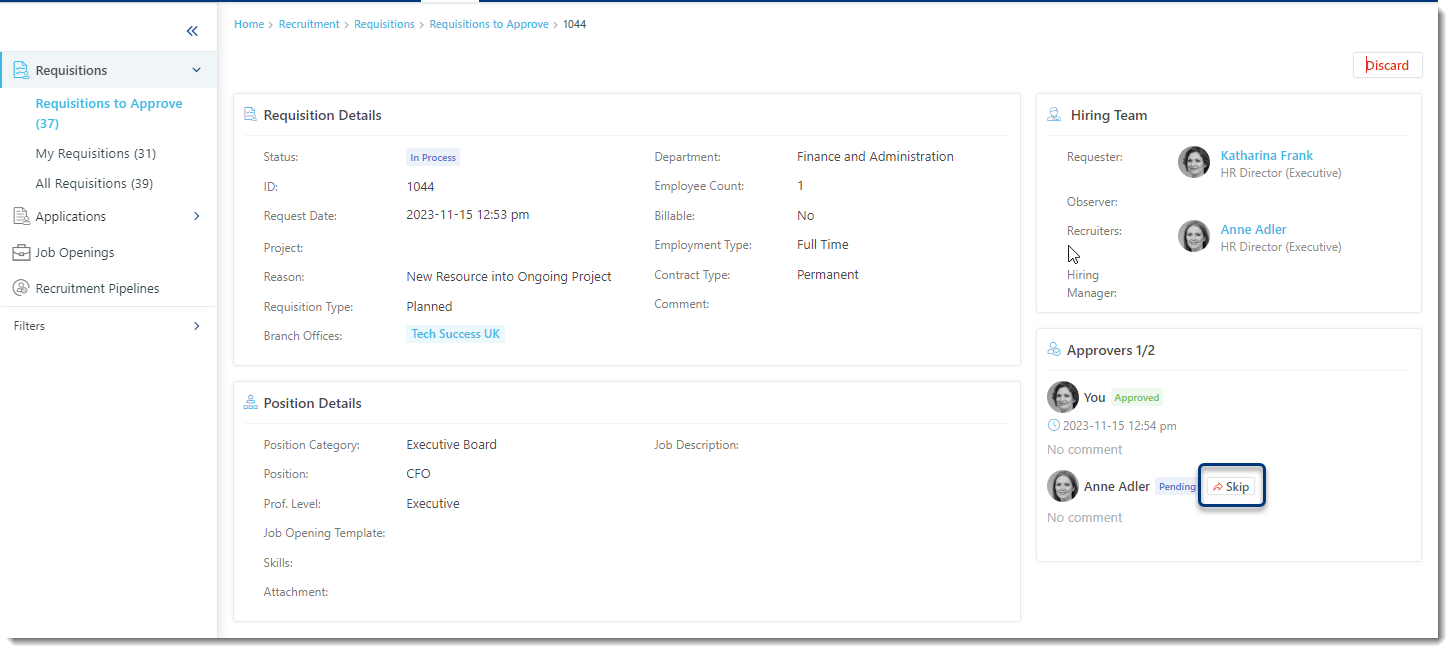
Here you will find all the requisitions that are awaiting for approval. The requisitions vary based on their: ID; Position Level; Branch Office; Department; Project; and Coverage status, which indicates how many approvers responded to the requisition; Requester; Requisition Status; and, Date.

You can respond to the requisition by clicking either the Discard or Respond buttons while viewing it.
- The Discard button archives the requisition:
- To Discard the requisition you will need to specify the Discard Requisition Reason that is created in the Company Settings → Customizations → Key properties section and then click the Save button.
- The Respond button will let you Accept or Reject the requisition:
- Reject: The requisition will be rejected and closed accordingly;
- Accept: as an employee with a Requisition Approver role you will need to pick the Recruiter and Hiring Manager for the further recruitment processes.
Tip: It is possible to skip the Approver if the Skip Requisition action is enabled for your user and if you are involved as a Recruiter in that Requisition.