Creating Time Trackings Approval Flow
Managing employee time tracking is essential for accurate project tracking, resource allocation, and ensuring productive workflows. To start using the Time Tracking functionality in raiseR you should start with creating the Time Tracking Approvals template from Settings → Approval Flows→ Time Trackings. You need to set up approval flow, specify approvers, and add employees who will be attached to this particular template.
Let's delve into the details of creating this approval flow.
To add a new Time Tracking approval flow:
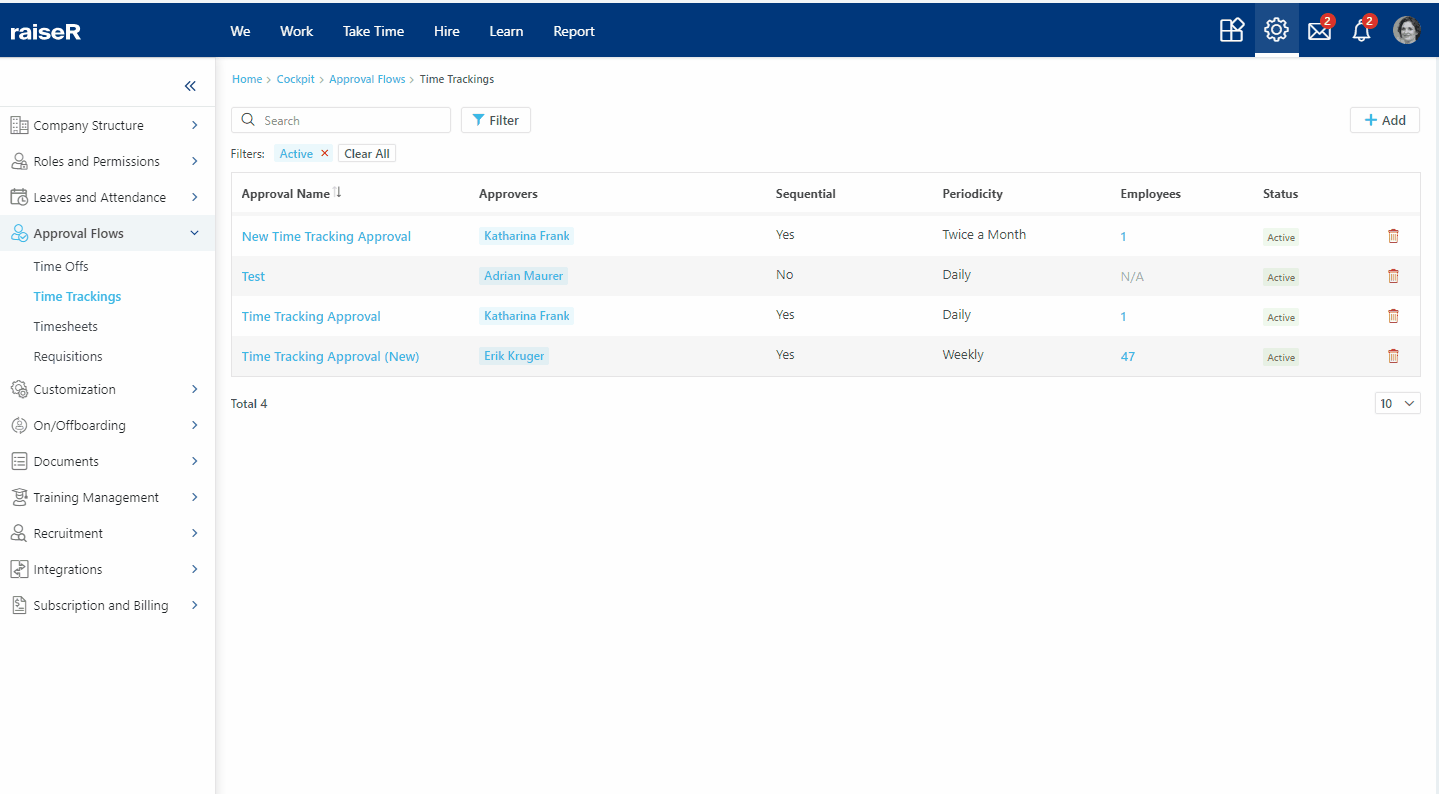
- Navigate to Settings⚙ and open the Approval Flows → Time Trackings section.
- Click the + Add button.
- Start configuration of Approval Details, Approvers and Employees options.
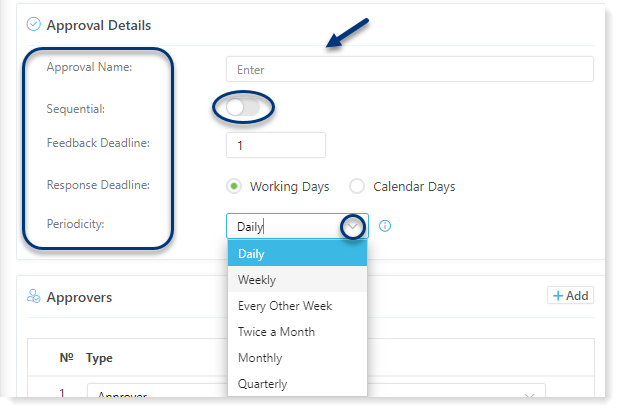
Approval Details
- Approval Name - Enter the unique name in the Approval Name field.
- Sequential - Enable or disable the Sequential toggle to determine the type of approval flow.
- Feedback Deadline - If the Sequential toggle is enabled, choose the working or calendar days for the response deadline.
- Response Deadline - If the Sequential toggle is disabled, specify the number of days for the response in the Feedback Deadline field, and choose the working or calendar days for the response deadline.
- Periodicity - Set the frequency of time tracking request generation from the drop-down menu.
Note: If you've chosen Sequential approval, don't forget to specify how many days each approver has to make a decision in the Approvers section.
Approvers
- Select the corresponding approver (User Role, Reports To, Approver).
- Choose a user role or name.
- Specify the number of days allowed for each approver's response (in case of sequential workflow).
- Once done, click Save to proceed with the Employees or click Cancel to discard the changes.
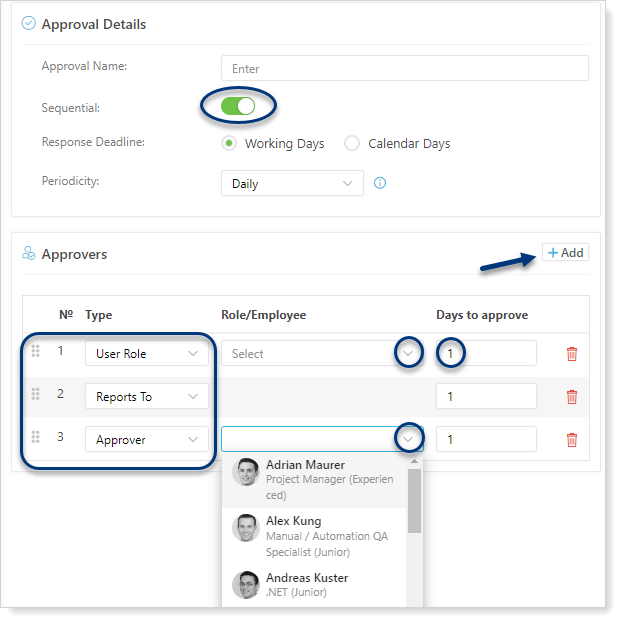
Tip: Use the + Add button to include additional approvers in the flow.
Important: Reports To(s) are unique to individual employees and are designated from their respective profile pages.
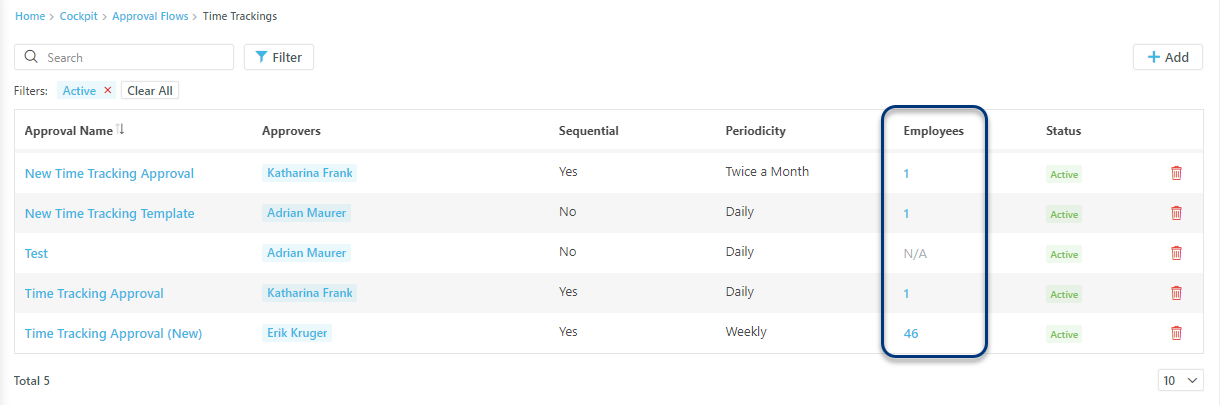
Employees
- Click + Add button.
- Select employee(s) from the drop-down list.
- Once done, click the Save button or click Cancel to discard.
Note: Employees previously included in another template will appear in the list with a warning icon. Should you choose to add such an employee, the template will be automatically updated.
Warning: It is not possible to delete the approval flow; you can only archive it. Please note that if any employee(s) have been added to the flow, the system will not allow archiving.
Tip: Utilize the filter functionality to easily view archived, active, or both approval templates.
Excellent progress! You have successfully completed the second step to complete the Approval Flows section. Stay tuned to learn creating approval flows for Timesheets and Requisitions.