Creating Email Signatures
An email signature serves as a means of verifying the sender's identity and offers a convenient way to provide important contact information to recipients. It conveys professionalism and provides an opportunity for company branding and recognition.
Below, you'll find instructions on how to create and manage your email signatures.
Important: In the raiseR system, the Email Signatures section is exclusively accessible and visible to administrators, while it remains unavailable to regular users.
To create an email signature:
- Go to the profile avatar to open a rollover menu.
- Click My Settings and select Email Signatures.
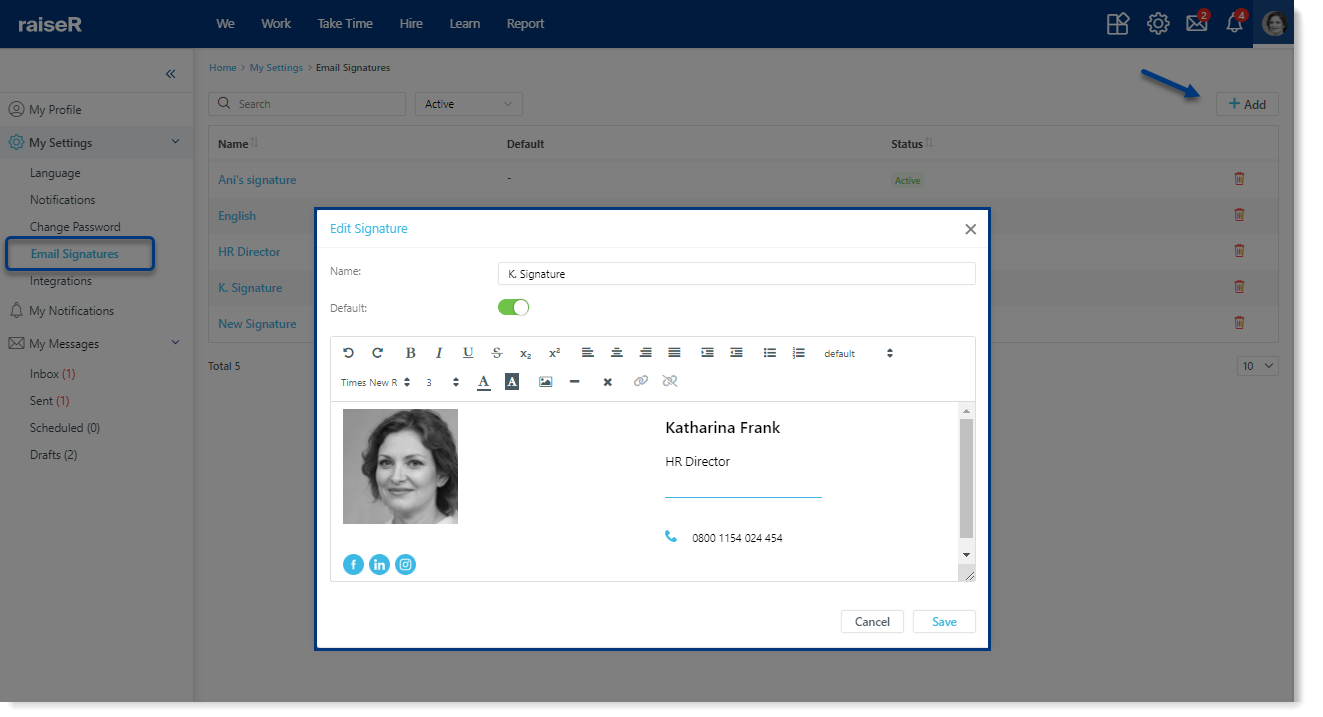
- Click + Add button.
- Specify the name for the signature to make it unique and findable .
- Use the HTML editor to create and style your signature, enhance it with text formatting, add links and images, and even hyperlink them.
- Once finished the editing process click the Save button.
Tip: You can create several signatures and set one as a default by enabling the Default toggle. The selected signature will appear in your emails automatically unless you change it manually.
All the created signatures can be viewed in the table. You can use the search bar or the status filters to filter the signatures.
To edit an existing signature, simply click on its name, and use the HTML editor to make your desired changes. To archive a signature, click the archive icon, and if needed, you can restore it at any time.
To edit an existing signature, simply click on its name, and use the HTML editor to make your desired changes.
To archive a signature, click the archive icon, and if needed, you can restore it at any time.
To delete the signature just click on the bin icon and then confirm the action by clicking the Archive button in the popup window. By the way, after archiving the signature you can restore it anytime you wish.