Creating and working with timesheets
raiseR Timesheets feature is one of the key features of the Work module. It consists of the following sections:
- Timesheets to Approve: Manage and approve employee timesheets for accurate project tracking and billing;
- My Timesheets: Easily submit your timesheets and maintain transparency on your work time;
- All Timesheets: Gain a comprehensive overview of all project timesheets for informed decision-making.
To access the Timesheets navigate to the Work module.
Important: Your assigned role determines which sections and actions you can access within Timesheets. Review your permissions in Settings → Roles & Permissions → User Roles → Work → Timesheets (see Roles and Permissions).
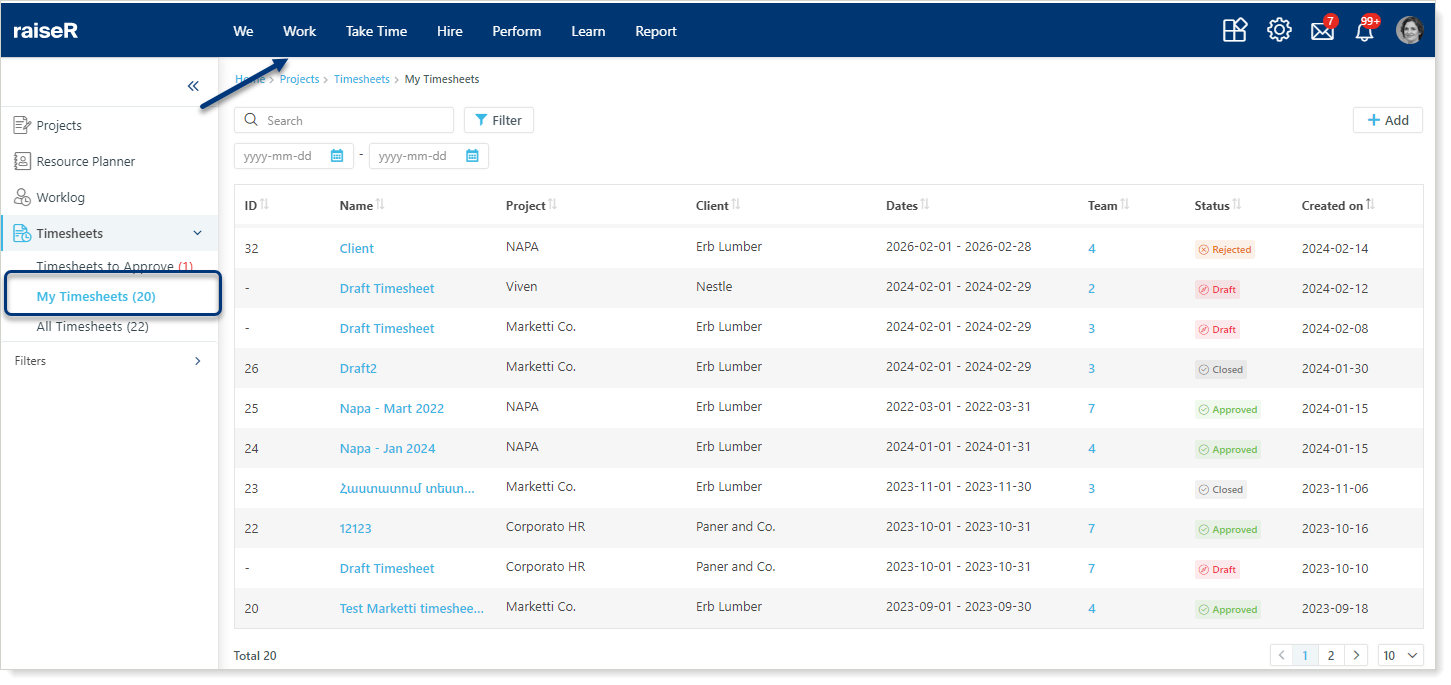
My Timesheets
The My Timesheets section acts as a central hub for managing all your past and present timesheets.
Here's what you can do:
- View a list of all your created timesheets, including drafts, approved, in-process, and closed ones;
- Track the progress of timesheets based on their status:
- Drafts: timesheets that are awaiting for final touches before submission;
- In-Process: timesheets that are under review waiting for approval;
- Approved and Closed: timesheets that are finalized;
- Rejected: timesheets that are not approved due to some issue the approver found.
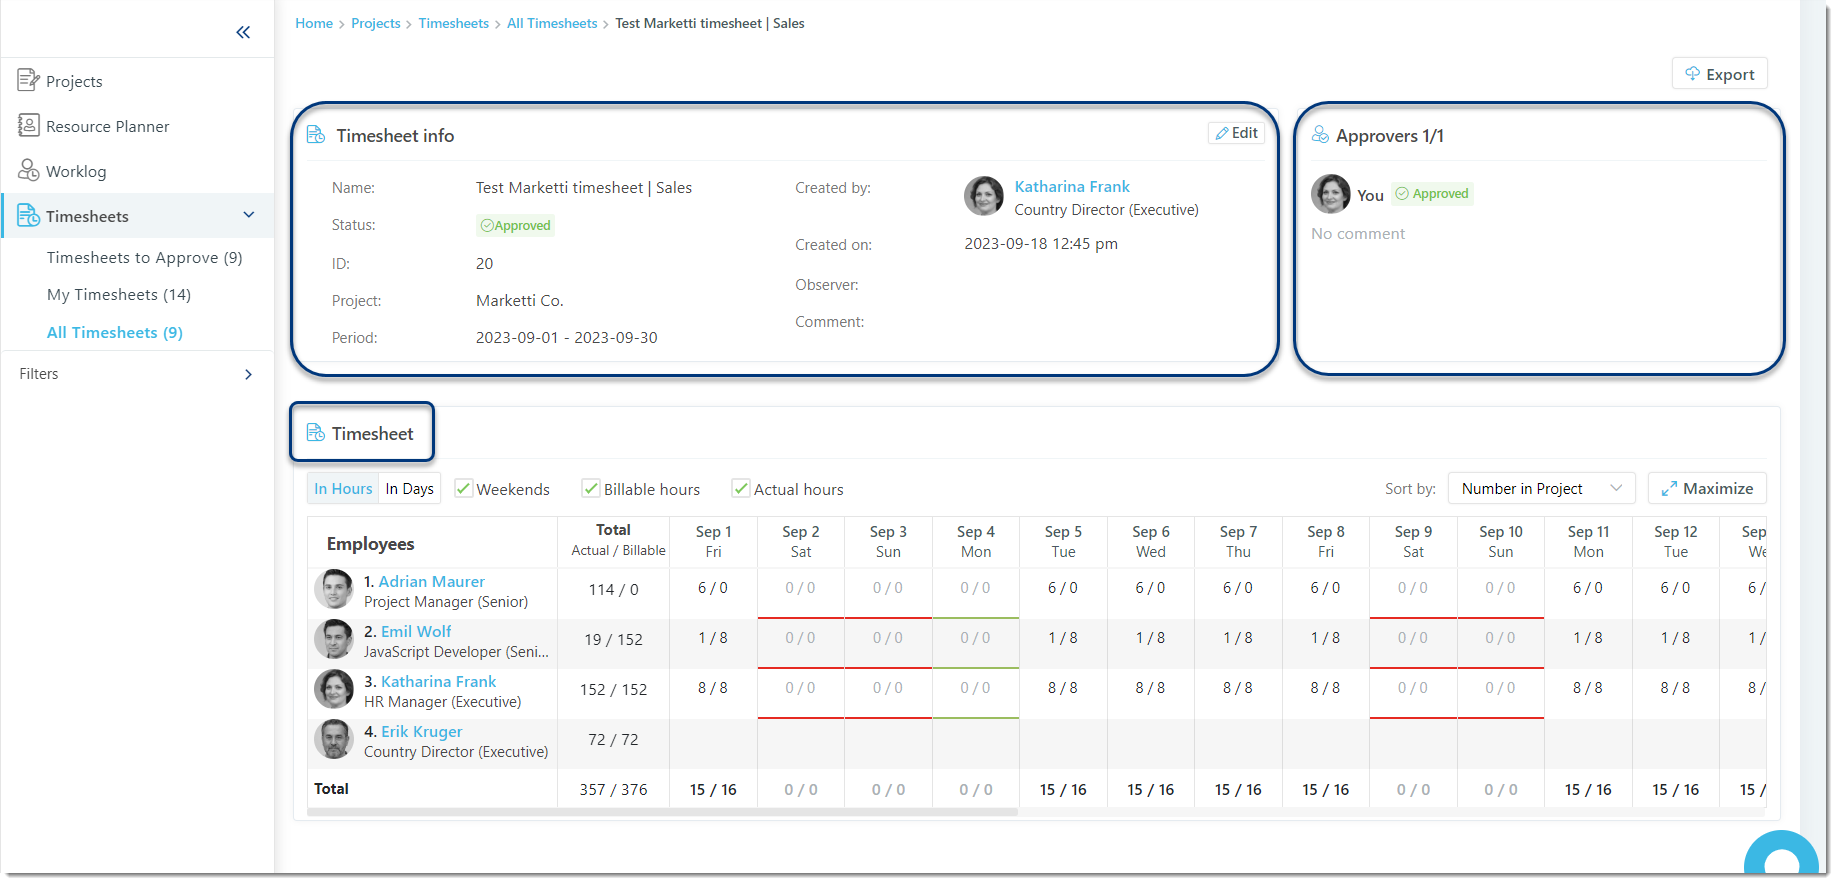
Working with the Timesheet:
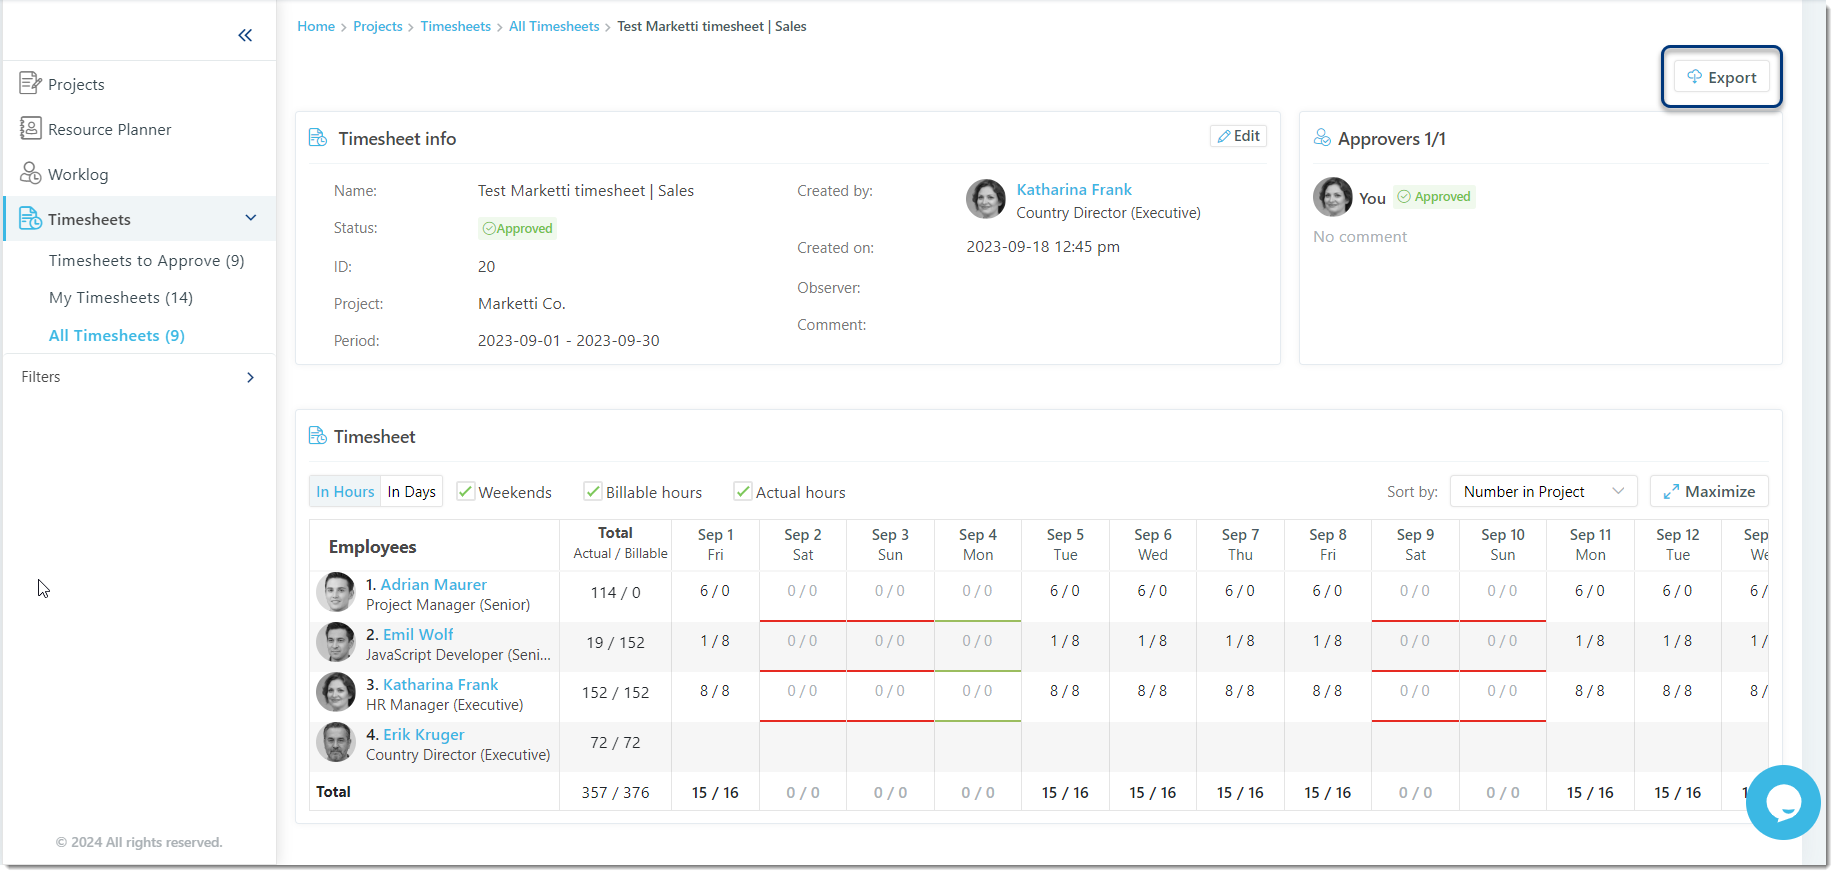
To view information about the timesheet simply click on it to see the:
- Timesheet info
- Approvers
- Timesheet itself along with employees and worked hours per day
Timesheet info
In this field you can see the:
- The name of the timesheets
- Its status
- ID which is generated automatically
- Project it is linked to
- Period of time
- The name of the person who created/generated the timesheet
- The creation date
- Observer (person who is added to the timesheet to view the approval process without permission to do anything)
- Comment field
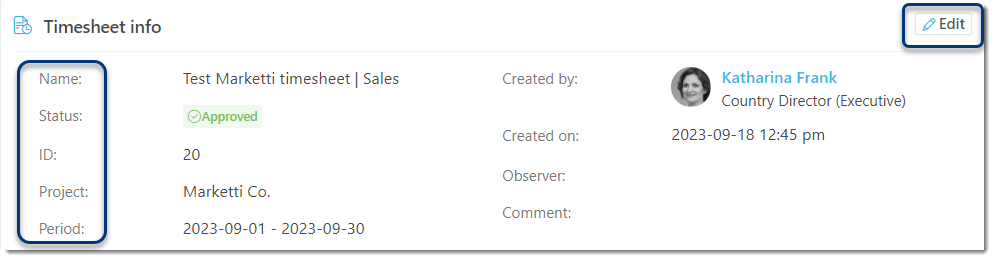
Tip: You can edit the mentioned information in the Timesheet Info field by clicking the Edit button.
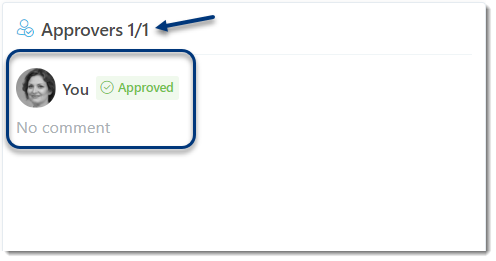
Approvers
- List of people who are included in the timesheets approval flow.
Timesheet
- Filtration options to view the timesheet per day and per hour:
- Checkbox to include the weekends in the timesheet;
- Checkbox to show the billable hours (in case the project is billable and you need to send an invoice to the client);
- Checkbox to show the actual hours (the total presence in the project per day).
- List of employees along with their positions within the project;
- Total number of actual and billable hours;
- Days along with information that corresponds to applied filtration.

Important: Entries can be modified only in Draft timesheets.
Sending the Timesheet for Approval
Ready to submit your accurately logged hours?
- Navigate to Work → My Timesheets;
- Look for timesheets with a Draft status;
- Click the Send for Approval button on the chosen timesheet;
- Give your timesheet a unique name;
- Leave a comment if needed;
- And voila! Your timesheet is on its way.
Adding a New Timesheet
To add a new timesheet, click the + Add button to create a new timesheet. The Worklog page will guide you through the process.
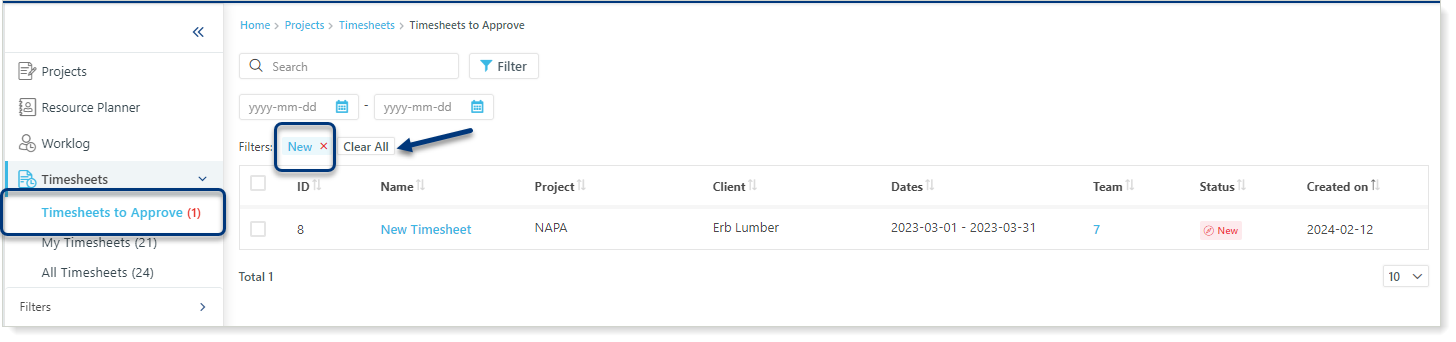
Timesheets to Approve
The Timesheets to Approve section shows newly submitted, unreviewed timesheets by default (check the red number). Use filters to view all statuses except drafts.
Here's what you can do:
- See everything at a glance;
- Track the progress;
- Access Timesheet Information;
- View Timesheets;
- Take control of timesheets: Approve, reject, or close them for reference - all within Timesheets to Approve.
Who sees what:
- Approvers: You'll see all New timesheets for projects you approve. Once you respond, the timesheet moves to Approved in Timesheets to Approve, My Timesheets, and All Timesheets.
- Creators (non-approvers): Your submitted timesheets (not New) are in My Timesheets and All Timesheets with the status In Process until approved. Once approved, they move to Approved in all sections.
For each project, specific approvers review time entries. Managers and other authorized personnel typically take on this role. You can set up these approvers directly within the Timesheets Approval settings.
Remember: Timesheets update automatically, so no manual allocation is needed.
Approving Timesheets
To approve a timesheet:
- Navigate to Work →Timesheets to Approve;
- Look for timesheets with a New status;
- Click Respond on the chosen timesheet. Add any notes if needed to explain your decision;
- Select:
Approve if the timesheet looks good;
- Reject if you need changes before approval;
- Cancel if you decide not to respond now.
Note: Rejected timesheets can be resubmitted! Make changes and send them back for approval through My Timesheets or All Timesheets.
Closing Timesheets
Finalize your timekeeping and ensure accurate records! Here's how to close your timesheets:
- Navigate to Work →Timesheets to Approve;
- Look for timesheets with an Approved status;
- Click the Close Timesheet button on the chosen timesheet;
- Enter an invoice number;
- Click Save to confirm and close the timesheet or click Cancel to discard.
All Timesheets
In the All Timesheets section, you'll find timesheets in all stages, except drafts. You can:
- Submit new timesheets for approval;
- Resubmit rejected timesheets (created by you) after addressing feedback;
- Approve In Process timesheets directly without waiting for others (if you have permission for Skip action).
* See the previous paragraph for details.
Remember: Closing approved timesheets can only be done from the Timesheets to Approve section.
Resend for Approval
- Navigate to Work → My Timesheets/All Timesheets;
- Look for timesheets with a Rejected status;
- Click the Resend for Approval button;
- The name of the timesheet is entered automatically. You can modify it or not;
- Leave a comment if needed;
- Finally, click Resend for Approval to send the timesheet back for approval.
Quickly find the timesheets you need:
- Use the date pickers to filter for specific periods across all timesheet sections;
- Narrow down by project, status, and client for even faster results.
Export your Timesheets
Use the Export button on any timesheet page to download all the available data.
Congratulations! You've completed the Work module user guide. You've learned everything you need to manage timesheets: create, submit, approve, and more! Remember, these skills are key to efficient teamwork.