Configuring KPIs
Before you dive in raiseR's KPIs, take a few minutes to establish a solid foundation. This section focuses on configuring key settings that will simplify your KPI management process. We'll cover the following areas:
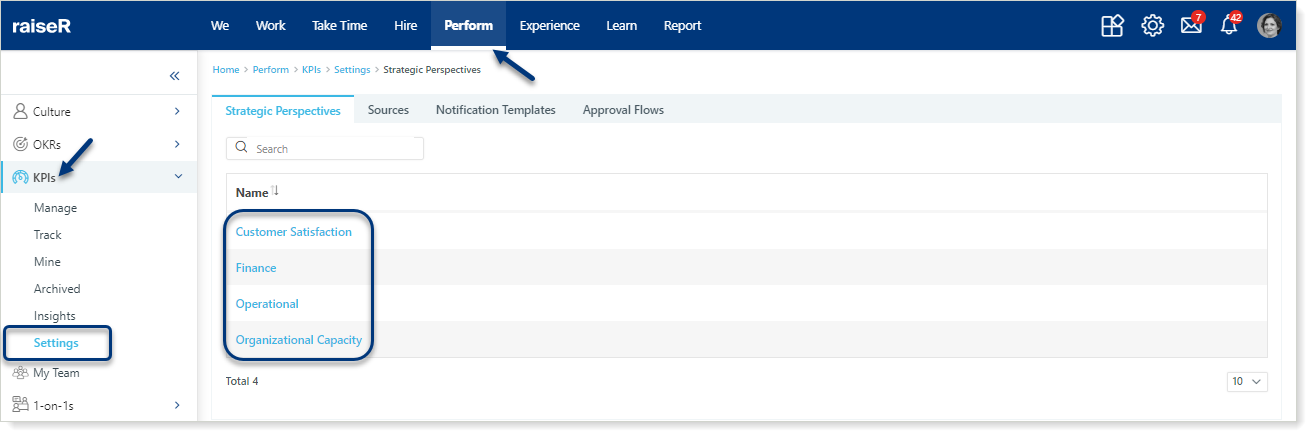
Strategic Perspectives
Categorize your KPIs based on their alignment with four pre-defined strategic areas:
Customer Satisfaction, Finance, Operational, and Organizational Capacity. These perspectives help you understand how your KPIs contribute to overall business objectives.
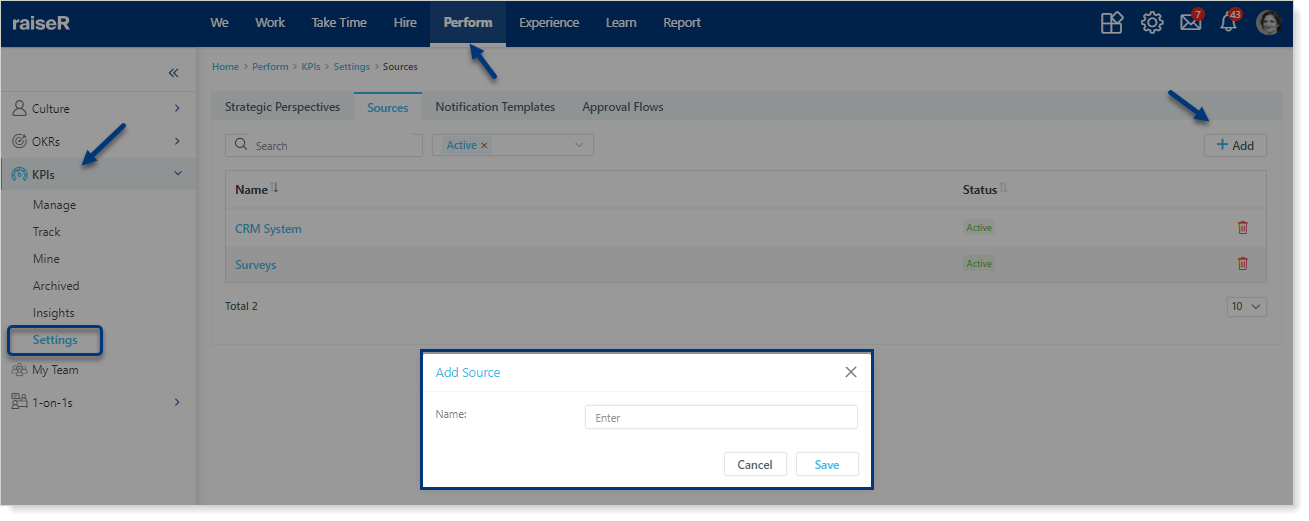
Sources
Connect your KPIs to relevant data sources for accurate calculations and insights.
To incorporate a new data source for your KPIs, follow these steps:
- Navigate to the Perform module, then select KPIs and Settings.
- Click on the Sources tab.
- Click the +Add button to initiate the process.
- Enter a descriptive name for your new data source.
- Click Save to finalize the addition.
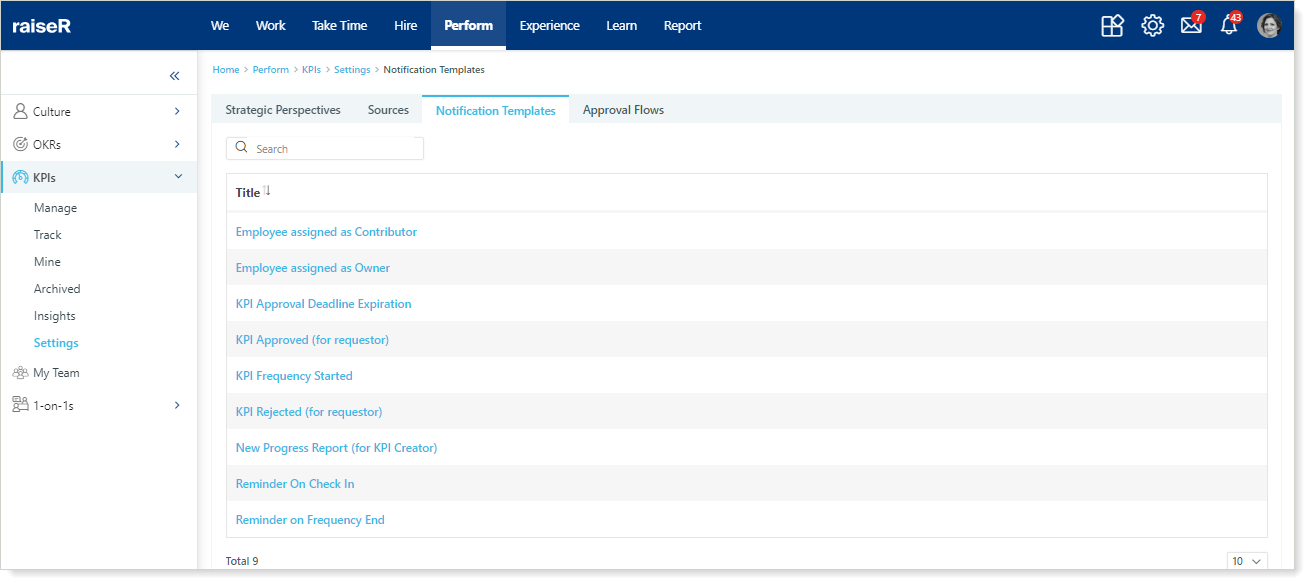
raiseR offers customizable email and system/push notification templates to keep users informed about KPI performance and upcoming reviews.
View and edit template details, including names and variable content, by clicking on the specific template.
Approval Flows
When creating KPIs, you have the option to bypass the approval process by simply assigning an owner. However, for KPIs requiring multiple sign-offs, you'll need to establish an approval workflow. This ensures proper authorization before the KPI becomes active.
To create approval processes for your KPIs, follow these steps:
- Go to Perform -→ KPIs → Settings → Approval Flows
- Click the + Add button to start a new approval workflow.
- Configure Approval Details:
- Approval Name: Assign a unique name to identify the workflow.
- Sequential Approval: Determine if approvals should be sequential or can be completed simultaneously.
- Days to Approve: Set the timeframe for approvals.
Calculate approval in - Choose the working or calendar days for the response deadline.
- Define Approvers: Select the roles involved in the approval process (Owner, Contributor, Approver, or Employee Group). Use the Add button for multiple approvers.
- Days to Approve: Specify the number of days approvers have to respond when the Sequential option is enabled.
- Click Save to finalize the workflow or Cancel to discard changes.
- Assigned KPIs: This section displays KPIs that have been linked to this approval flow during their creation process.
Tip: When selecting Owner or Approver, specific names will not be pre-filled. They will be added during the KPI creation process.
You've laid the groundwork! Now it's time to bring your KPIs to life. Let's start creating and managing your performance indicators.